Box-O-Trix - Control panels
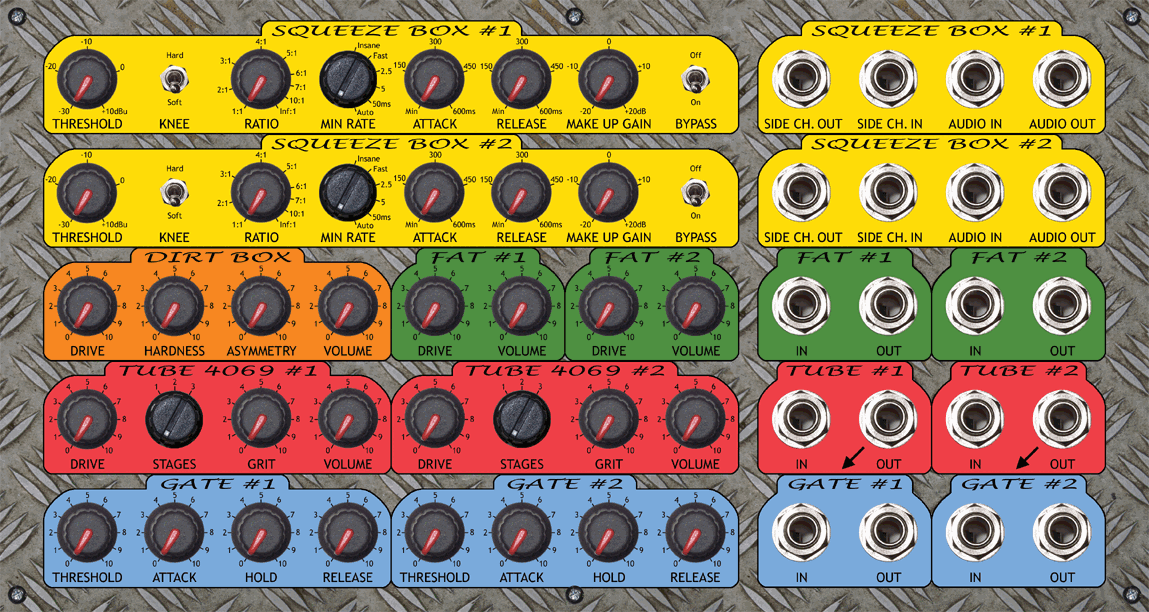
The top panel was done in Photoshop and printed with an inkjet printer onto paper which was then laminated with a standard office laminator. The laminated paper was fixed temporarily onto the aluminium panel with blue-tack and, using an automatic centre punch, the drill holes were marked onto the metal. The laminated paper was then removed and the panel holes drilled and deburred. Finally the laminated paper was fixed with Servisol 'Adhesive 120' spray adhesive onto the panel, and the panel holes cut in the laminated paper with a scalpel.
Actual size (if viewed on a 96dpi monitor) top panel graphics:

The front panel was printed onto a transparent sticky label with an inkjet printer. This was then stuck onto the drilled and cut plastic. I'm not very happy with the results - the colours don't come out very bright with the grey plastic behind, and the print comes off very easily if rubbed. On the plus side, I like the fact that the sticker covers the LEDs and they shine through. If I get round to it I will redo the front panel using the same technique as the top panel, but I will cut out holes in the paper before laminating it for the LEDs to shine through.
Actual size (if viewed on a 96dpi monitor) front panel graphics:

More ..
