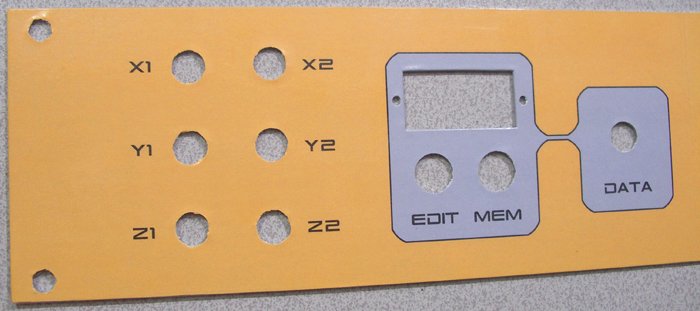
JoyKontrol - Front panel

I used a sheet of 1mm Zintec for the front panel which is a kind of steel that's fairly easy to cut and drill and, although it feels smooth to touch, it has a very fine rough surface that makes it quite good to stick stuff too. (The reason it's made like this is so that paint sticks easily to it - this type of metal is very often used for equipment cases when it is generally electrostatically powder-paint coated, then baked to give a smooth hard finish.) To be honest though any type of sheet metal would have done - I just happened to have this lying around. If I'd had the choice I would have used a thicker panel - the current one is quite flexible and bends when the buttons are pressed.
First I cut the panel to size. Then I printed the design on paper, cut it out, and blue-tacked it to the front of the panel. I used an automatic centre punch to punch through the paper where the position marks were printed, marking the drill holes and cutouts in the panel. Then I drilled and jigsawed out the holes in the panel. Deburring is important otherwise the sticker won't stick flat.
Next I printed the design onto a normal self-adhesive paper label and carefully stuck it onto the panel. I printed some bleed so I just trimmed along the edges of the panel with a scalpel to get an exact edge. Because the sticker sheet was only A4 size, there is actually a join just to the right of the DATA pot area, but you can't really see it.
Then I stuck some sticky-back plastic over the top to protect the print and give a smooth glossy finish. I folded this over the edges by about 1cm and stuck it round the back to help prevent the front from peeling off.
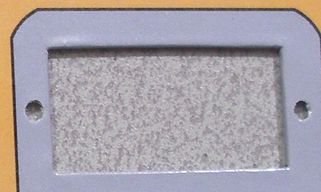
Finally I cut through the paper and sticky-back plastic with a scalpel around the holes. This is easily done by just gliding the blade round the edges. For the LED display window (the only place where the edges of the cutouts will be visible) I cut about 5mm away from the edges and folded the flaps around and stuck them to the back of the panel. This gives a nice smooth edge..

If you want to re-create this panel, here are high resolution TIFF files of the panel graphics with and without drill marks. In the 2nd file the panel has been split into 2 pieces so the whole thing fits on a single A4 sheet (for printing onto an A4 sticker).
panel_graphics_with drill_marks.tif
panel_graphics_A4.tif
(right click to save, otherwise they may open in the browser window)
More ..
